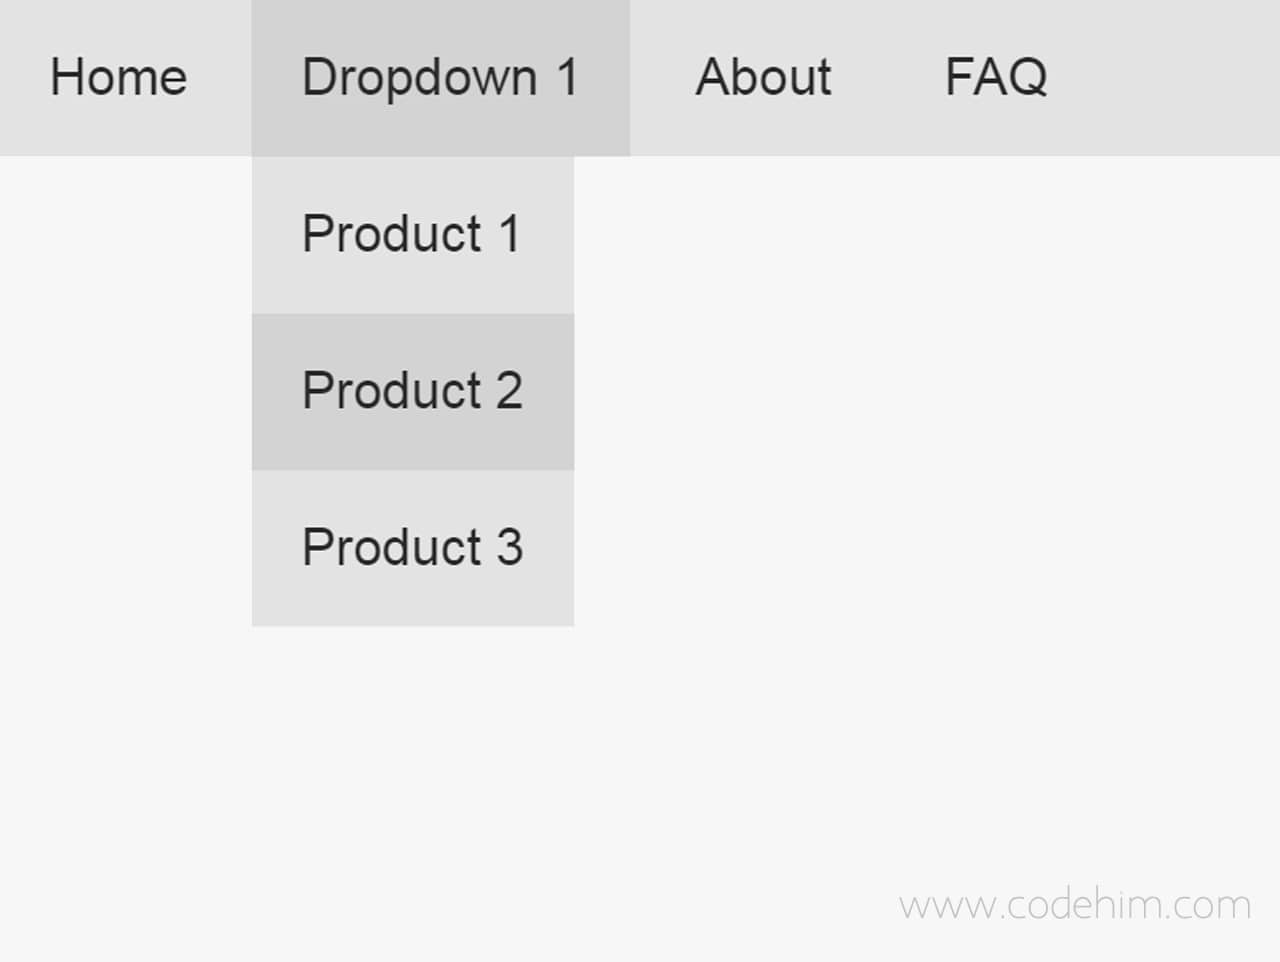
Yet another lite version simple dropdown menu using jQuery and CSS for mobile-friendly websites. This lightweight menu plugin creates horizontal navbar with dropdowns on large screen devices (desktop). It converts into hamburger menu on mobile devices.
This drop down menu can be fully customize with additional CSS to fit on your needs.
Plugin Preview

Plugin Overview
| Plugin: | Dropdown |
| Author: | Murtaza Jafari |
| Licence: | MIT Licence |
| Published: | January 19, 2024 |
| Repository: | Fork on GitHub |
| Dependencies: | jQuery 1.3.1 or Latest version and Material Design Icons |
| File Type: | zip archive (HTML, CSS & JavaScript ) |
| Package Size: | 4.62 KB |
How to Create Simple Dropdown Menu using jQuery
1. First of all load jQuery and Material Icons CSS in the head tag of your HTML document to getting ready with dropdown menu.
<!-- jQuery -->
<script src="https://code.jquery.com/jquery-3.4.1.min.js"></script>

<!-- Material Icons CSS -->
<link rel="stylesheet" href="https://fonts.googleapis.com/icon?family=Material+Icons">
2. Now, create HTML nav element and place list of your dropdown navigation links in it. The <i class="material-icons">menu</i> define material menu icon that will be show on small screen (mobile device).
 <nav>
        <div>
            <i class="material-icons">menu</i>
        </div>
        <ul>
            <li><a href="#">Home</a></li>
            <li>
                <a href="#">Dropdown 1</a>
                <ul>
                    <li><a href="#">Product 1</a></li>
                    <li><a href="#">Product 2</a></li>
                    <li><a href="#">Product 3</a></li>
                </ul>

            </li>
            <li><a href="#">About</a></li>
            <li><a href="#">FAQ</a></li>
        </ul>
    </nav>
Tip: To add more dropdowns in navbar, use the above mentioned nested list structure.
3. After that, style your dropdown menu with CSS.
nav div {
  padding: 0.6em;
  background: #e3e3e3;
  display: none;
  cursor: pointer;
  color: #292929;
  font-size: 24px;
}

ul {
  margin: 0px;
  padding: 0px;
  background: #e3e3e3;
  list-style-type: none;
  position: relative;
}

ul li {
  display: inline-block;
}

ul li a {
  padding: 15px;
  color: #292929;
  text-decoration: none;
  display: block;
}

ul li:hover {
  background: lightgrey;
}

ul ul {
  position: absolute;
  min-width: auto;
  background: lightgrey;
  display: none;
}

ul ul li {
  display: block;
  background: #e3e3e3;
}

ul li:hover ul {
  display: block;
}

@media (max-width: 768px) {
  nav div {
    display: block;
  }
  ul {
    display: none;
    position: static;
    background: #e3e3e3;
  }
  ul li {
    display: block;
  }
  ul ul {
    position: static;
    background: #e3e3e3;
  }
}
4. Finally, insert the following jQuery code in your document and done.
<script>
$(document).ready(function(){
    $("nav div").click(function(){
            $("ul").slideToggle();
            $("ul ul").css("display", "none");
        });

        // $("ul li").click(function(){
        //     $("ul ul").slideUp();
        //     $(this).find('ul').slideToggle();
        // });
        $('ul li').click(function () {
            $(this).siblings().find('ul').slideUp();
            $(this).find('ul').slideToggle();
        });

        $(window).resize(function(){
            if($(window).width() > 768){
                $("ul").removeAttr('style');
            }
        });
 });
</script>
Similar Code Snippets:

I code and create web elements for amazing people around the world. I like work with new people. New people new Experiences.
I truly enjoy what I’m doing, which makes me more passionate about web development and coding. I am always ready to do challenging tasks whether it is about creating a custom CMS from scratch or customizing an existing system.


